STATS INC.
QUALITY & SERVICE SINCE 1971 USA & MEXICO
QUALITY & SERVICE SINCE 1971 USA & MEXICO
https://wa.me/185856051155
flagsbystats@gmail.com
flagsbystats@gmail.com
Follow the steps below to assemble your 3 Face Display frame and install the graphic cover.
For easiest assembly, two people are recommended.
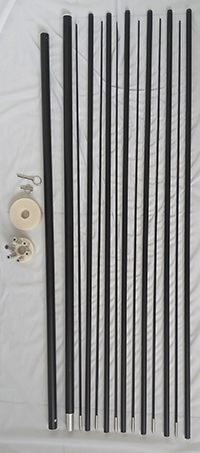
Lay out all poles on a table and sort them as shown in the reference image. If you ordered Indoor only Flags you will have less poles.
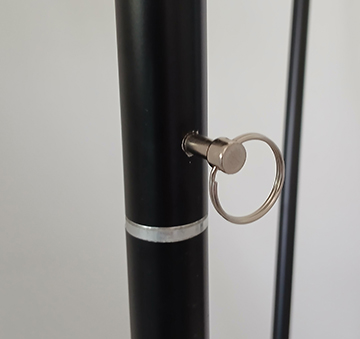
Connect each carbon pole to an aluminum pole. Will end up with 6 pole sets plus center pole. Indoor units will have 3 pole sets. Assemble the two thicker aluminum poles together and secure with the push pin in the center holes.
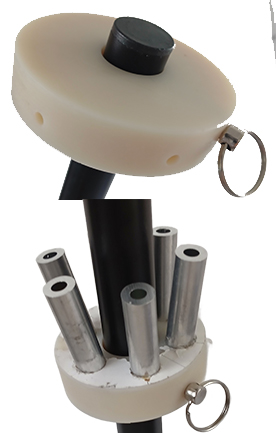
Attach the top plastic mount using the large push pin. Attach the bottom plastic mount using the push pin small push pin.
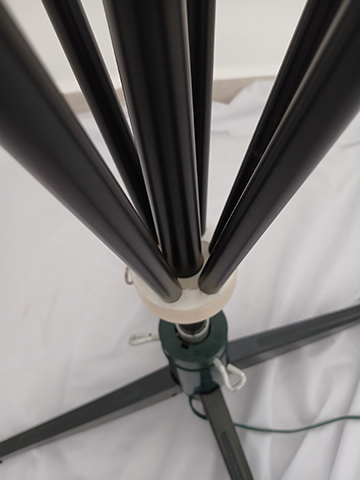
Insert all six/three poles into the bottom mount. The poles will naturally lean outward.
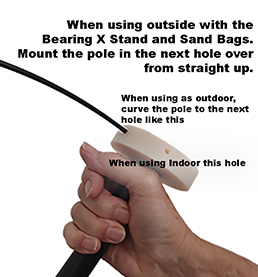
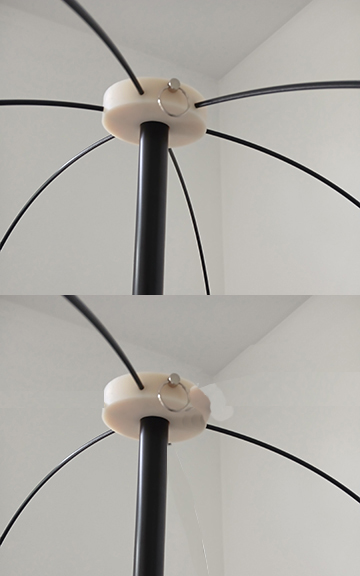
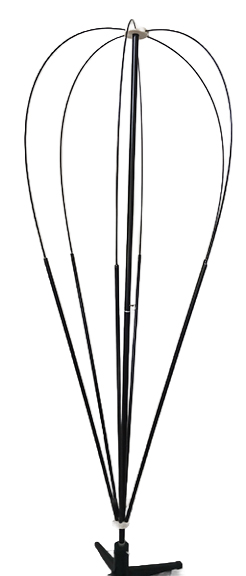
With assistance, lean over the pole set, bend one pole at a time and insert the tip into the matching hole in the top mount. Each pole should extend curved upward from the bottom.
Once complete, all six/3 poles should be mounted as shown in the reference image.
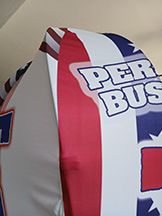
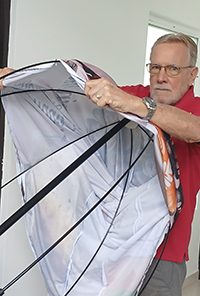
Unzip the graphic cover and locate the center point at the top. With the zipper away from you pull up material as shown.
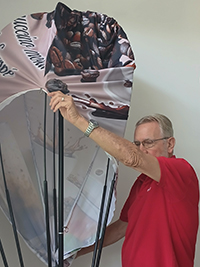
Lean the pole to you until you touch the top, Align the zipper with any one pole and carefully pull the graphic down over the frame.
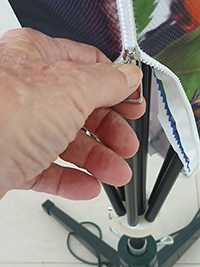
Pull the zipper down a pole, Then raise the complete pole set and pull down the zipper side a little then the other side. When the graphic reaches approximately halfway down, verify that the zipper remains aligned with one pole. Do not zip yet.
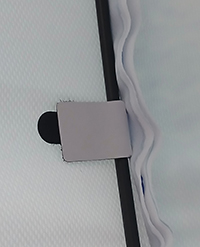
Put your body inside the graphic and attach all six Velcro straps to the corresponding poles.
Pull the graphic fully, lean over and check top center, downward and close the zipper. Pull the flag down over the bottom plastic and tie the string.
Your display is now ready to be placed on the X-Stand. Recommended: Two people for easier assembly and graphic installation.
To help the outside flag turn better in the wind, you need to change how the six pole tops go into the top plastic piece.
1. With all poles inserted into the bottom, pull the top section down so you can insert the top of each pole.
2. Instead of putting the pole into the hole directly above the bottom holder, move it over one hole.
3. This will create a propeller effect at the top, so when you zip up the flag, the top part will not sit directly on the pole.